So, I have always been interested in RF stuff and testing tools, especially things like spectrum anaylzers and the like. I have a really nice DC to daylight (well, DC to 7.2Ghz) Anritsu and a large collection of WiFi testers, including a nice Fluke.
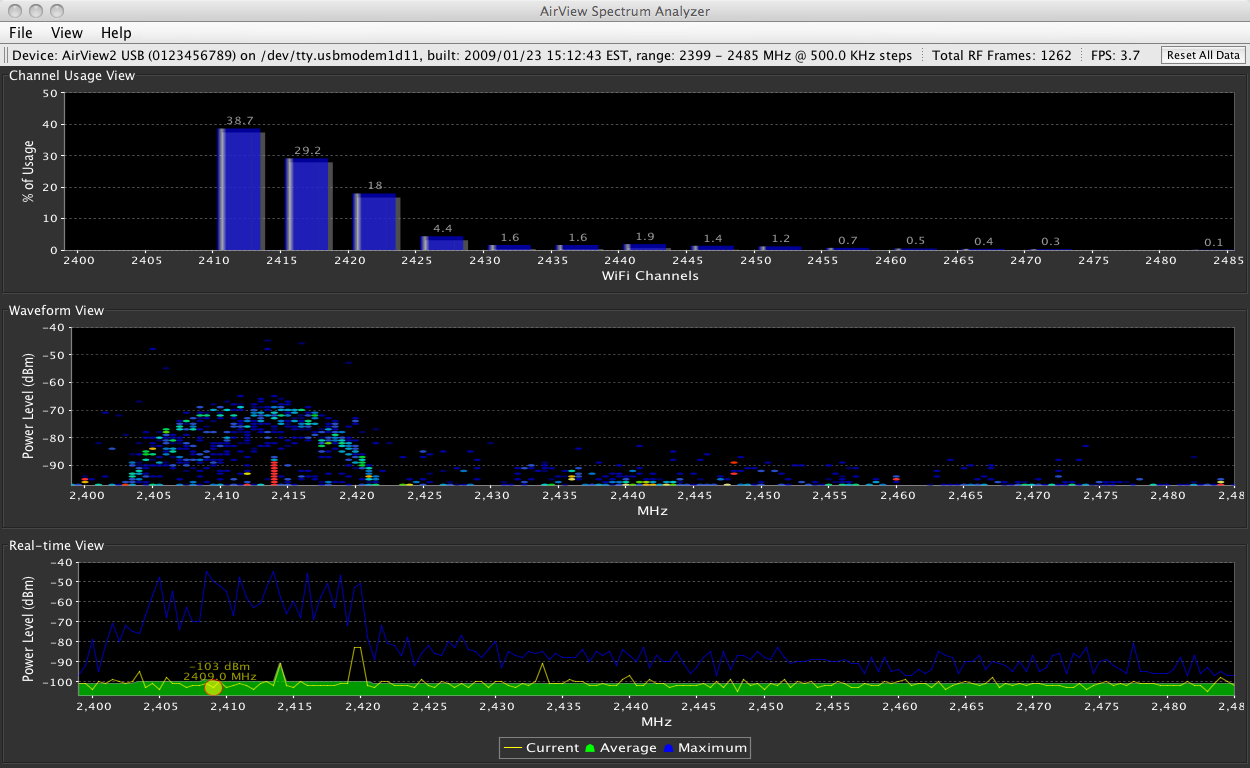
I have been looking at some of the USB based WiFi spectrum analyzers, like the ones at ThinkGeek. I wsaw a post on NANOG recommending some outdoor access-points from Ubiquiti Networks and went to go look at their website. As well as some really really interesting outdoor APs that I haven't tried yet, I saw a ridiculously cheap 2.4Ghz USB spectrum analyzer called the AirView-2-EXT .
I bought one, fully expecting it to kind of suck and only run under Windows, but once it arrived and I went to download the software I saw that they have a Mac version too. The device works great (although the software could be a bit more featured and export stats, etc) and I am really really happy with it. I'm planning on buying some of the APs to test (like an external antenna mounted AP for <$40!)...

A friend of mine recently lost access to his server and so I figured I'd try and create him a virtual machine on one of my boxes while he was getting his back online.
"No worries", think I, "I'll just install something like KVM and it'll all be good". Unfortunately I found out that the CPUs in my server (dual core P4 Xeon 3Ghz in a Dell 2850) don't support the Intel-VT instruction set needed to run KVM. "Well, ok, I'll just some something like 'apt-get install ubuntu-xen-server' and all will be good"...
Unfortunately it turned out to be more complex than that -- here is what I did to get it working, so next time I don't waste 3 hours poking at this.
The Intrepid xen packages install 'xen-3.3.gz' in /boot, but there are there is no kernel or modules file. Turns out the repository doesn't have those, so you need to do:
Kernel: http://packages.debian.org/lenny/i386/linux-image-2.6.26-2-xen-686/download
Modules: http://packages.debian.org/lenny/i386/linux-modules-2.6.26-2-xen-686/download
Then install using
sudo dpkg -i linux-image-2.6.26-2-xen-686_2.6.26-15lenny2_i386.deb linux-modules-2.6.26-2-xen-686_2.6.26-15lenny2_i386.deb
After that I made the virtual machine and started it - "Hmmm, this is too easy...", and sure enough, it was...
Connecting to the virtual console only gave me:
starting system log daemon: syslogd.
Starting kernel log daemon: klogd.
* Not starting internet superserver: no services enabled.
Starting OpenBSD Secure Shell server: sshd[    8.032223] NET: Registered protocol family 10
[    8.032777] lo: Disabled Privacy Extensions
.
Starting periodic command scheduler: crond.
and then nothing -- I figured I'd try and loging over ssh, but the install process hadn't prompted me for a root password. I mounted the dis image and added a user, then tried logging in over ssh. Still no luch, I got:
After much prodding I got everyting working correctly, here is how:
The general config is in /etc/xen-tools/xen-tools.conf
To create the image do:
 root@machine:/etc/xen-tools# sudo xen-create-image --hostname=xen1.example.com --ip xx.xx.xx.xx --ide --force --passwd --role udev
 General Information
 --------------------
 Hostname       :  xen1.example.com
 Distribution   :  lenny
 Partitions     :  swap            128Mb (swap)
                   /               4Gb   (ext3)
 Image type     :  sparse
 Memory size    :  128Mb
 Kernel path    :  /boot/vmlinuz-2.6.26-2-xen-amd64
 Initrd path    :  /boot/initrd.img-2.6.26-2-xen-amd64
 Networking Information
 ----------------------
 IP Address 1   : xx.xx.xx.xx [MAC: 00:16:3E:xx:xx:xx]
 Netmask        : xx.xx.xx.xx
 Gateway        : xx.xx.xx.xx
 Creating partition image: /home/xen/domains/xen1.example.com/swap.img
 Done
 Creating swap on /home/xen/domains/xen1.example.com/swap.img
 Don
 Creating partition image: /home/xen/domains/xen1.example.com/disk.img
 Done
 Creating ext3 filesystem on /home/xen/domains/xen1.example.com/disk.img
 Done
 Installation method: debootstrap
 ...
To start the image, do:
root@machine:/etc/xen-tools# sudo xm create /etc/xen/xen1.example.com.cfg
To connect to the console, run
xm console xen1.example.com
. To disconnect the console, its ^-[ The config file for xen-tools is:
/etc/xen-tools/xen-tools.conf
dir = /home/xen
...
#
##
#  Disk and Sizing options.
##
#
size   = 4Gb      # Disk image size.
memory = 128Mb    # Memory size
swap   = 128Mb    # Swap size
# noswap = 1      # Don't use swap at all for the new system.
fs     = ext3     # use the EXT3 filesystem for the disk image.
dist   = lenny     # Default distribution to install.
image  = sparse   # Specify sparse vs. full disk images.
...
# Uncomment and adjust these network settings if you wish to give your
# new instances static IP addresses.
#
netmask =  xx.xx.xx.xx
gateway = xx.xx.xx.xx
...
#
# Uncomment the following line if you wish to interactively setup
# a new root password for images.
#
passwd = 1
...
#
#  If you're using a newer version of the Xen guest kernel you will
# need to make sure that you use 'xvc0' for the guest serial device,
# and 'xvdX' instead of 'sdX' for serial devices.
#
#  You may specify the things to use here:
serial_device = hvc0
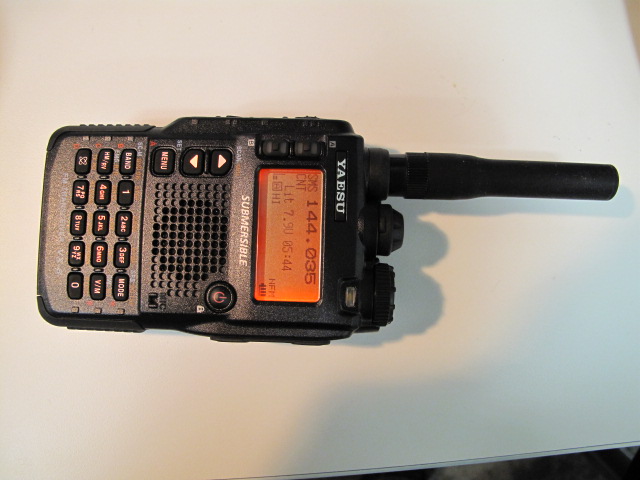
So, I recently got a Yaesu VX-8R transceinver -- it is really quite cool, and has all sorts of cool menu options, etc. One of the nice features is built in GPS (well, a GPS that attaches to either the speaker-mic or a special adapter that connects to the mic connector) and bluetooth.

Of course, one of the first things I did when I got it was crack it open and perform the extended TX mod. Only after I did this did I discover that the Smart Search functionality didn't work... I figured that the mod might have made it all grumpy, so I reversed the mod, tried again, reset the unit to factory defaults, etc -- all to no avail.
The instrustion manual says:
- put the unit in "Mono" receive mode (it won't work in Dual receive)
- hold down the MODE button and turn the knob to select SMART SEARCH
- release the MODE button.
and then the radio is supposed to go off and automagically search for signals and program memories.
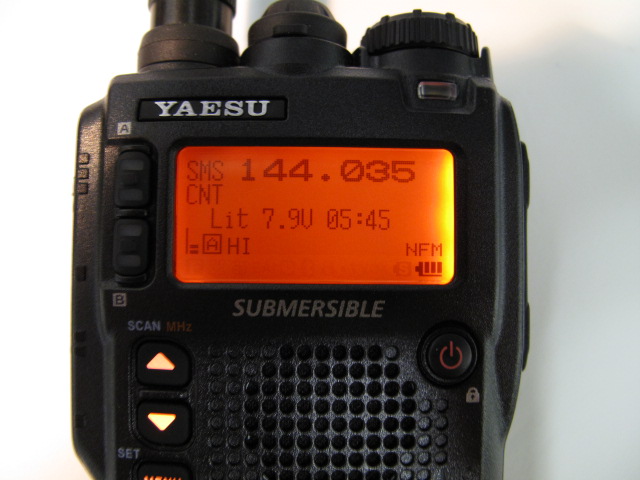
Instead what would happen is that it would just sit there, displaying something like this

After much poking, prodding, etc I finally gave in an email tech support... Turns out that the manual is incorrect (actually, I think that they just cut and pasted from an earlier model) and that you have to press 9and hold) the BAND button to actualyl start the SmartSearch function. Unfortunatly the online manual still hasn't been updated and this info in not in the FAQ. Oh well, now you know...
As I was suspecting, it turns out that I am not really putting any content on this site. In order to try and remedy this, I have create a blog type section (this one :-)) and will try and post small, simple articles in it...
W